Kitchen Litho Kit.
The hands-on layer of the Litho Hub learning path
Lithography you can run from a kitchen drawer.
The Kitchen Litho Kit makes the essential chemistry of lithography accessible without a press, a stone, or a studio. Using household materials and a six-step process, you draw, etch, ink, and pull a real print at home.
Why it works.
Lithography is chemistry, not equipment.
The fundamental principle is grease and water repelling each other.
Every lithographic print — from a Toulouse-Lautrec poster to a contemporary edition — depends on one chemical fact: grease and water do not mix. The Kitchen Litho Kit demonstrates this principle directly, using materials you already own.
The greatest barrier to lithography has always been access, not difficulty.
Specialized presses and limestone slabs are not what make lithography work — they are simply the industrial form it took. The kit reduces the process to its core logic: a greasy surface that attracts ink, a wet surface that repels it, and paper to receive the image.
You do not learn the process by reading about it — you learn it by doing it.
The kit is built around embodied learning. You prepare the plate, draw the image, apply the etch, and pull the print yourself. Each stage makes the underlying chemistry visible and tangible, building an intuition that stays.
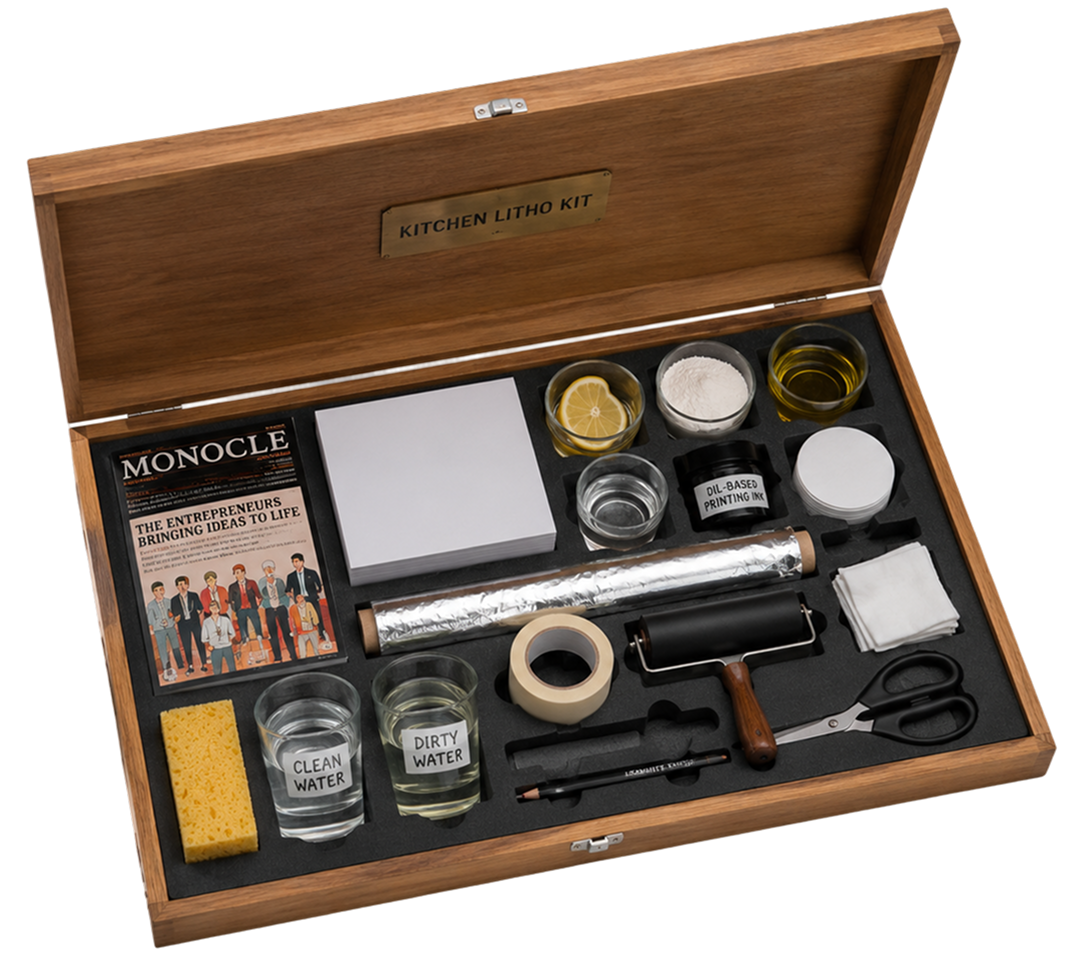
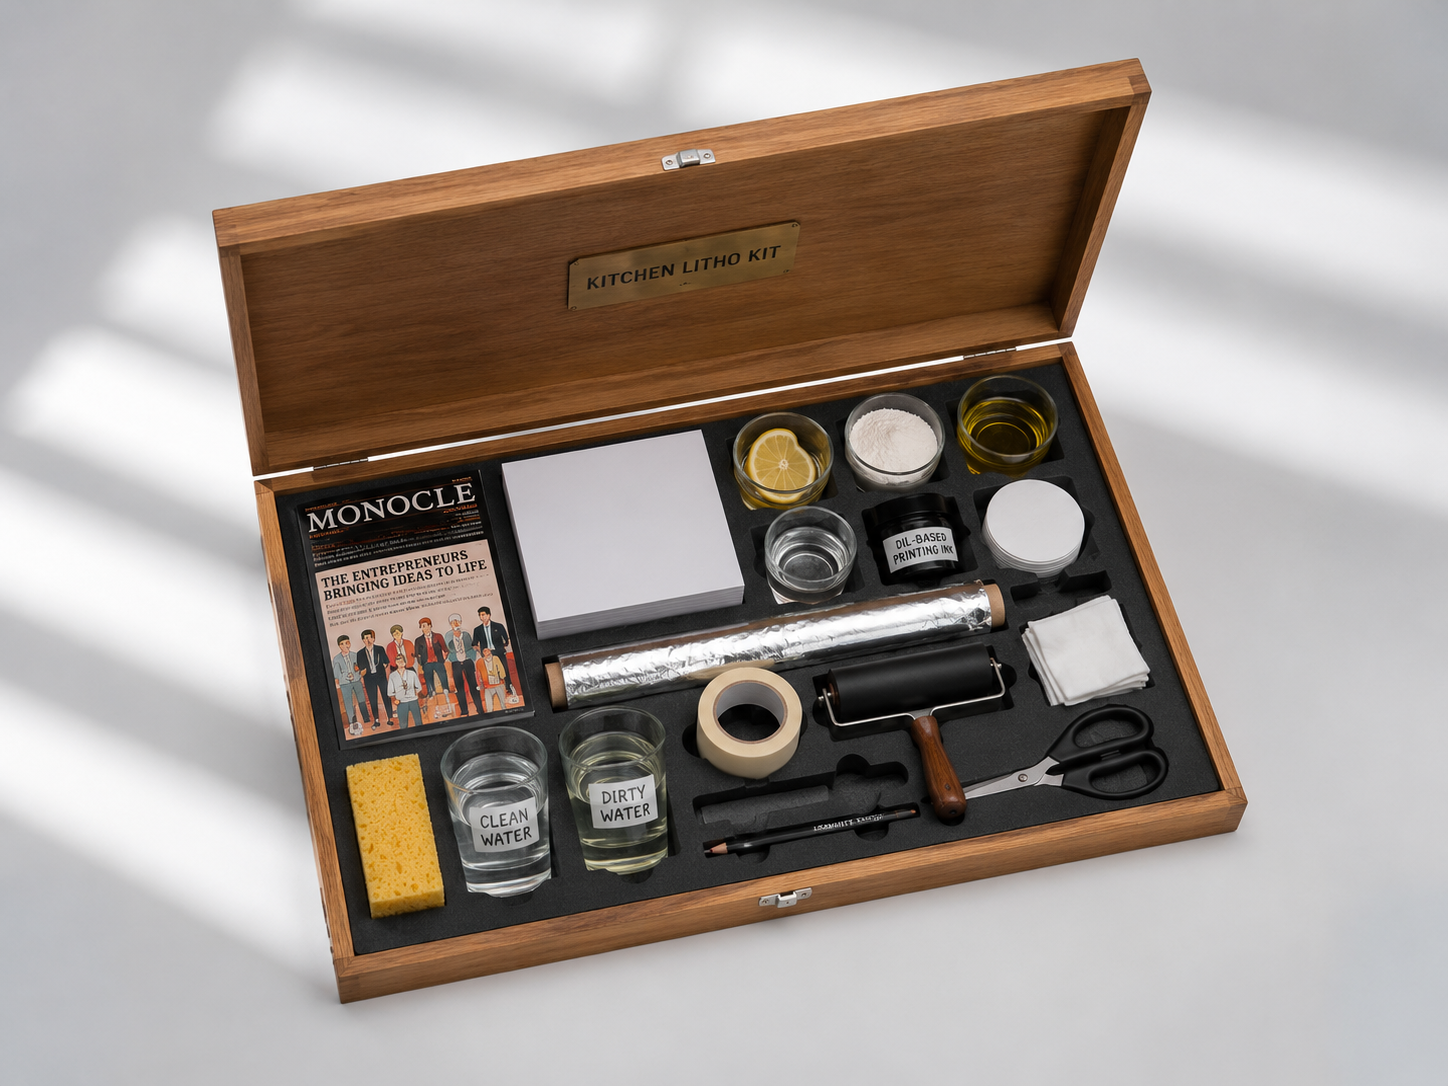
What's in the kit.
Sixteen ingredients. One complete process.
Every material in the kit was chosen to demonstrate a specific aspect of lithographic chemistry — all of them inexpensive, widely available, and likely already in your kitchen.
- Magazine— Transfer surface for the image
- Paper— Receives the final printed image
- Freshly squeezed lemon juice— The acid etch — fixes the chemical distinction between image and non-image areas
- Flour— Dusting agent that stabilises the drawn surface before etching
- Olive oil— Grease-based drawing medium — the image carrier
- Cotton pads— For applying and wiping solutions across the plate
- Tissue paper— Delicate surface cleaning between stages
- Aluminum foil— The printing plate — provides the lithographic surface
- Tape— Secures foil and registration during printing
- Soft graphite pencil— Drawing tool — graphite is grease-based, so ink will follow
- Oil-based printing ink— Adheres to image areas, repelled from wetted non-image areas
- Rubber roller— Applies a consistent ink layer across the plate
- Sponge— Dampens the plate before inking — maintains the water balance
- Water— Keeps non-image areas wet and ink-repellent during printing
- Two cups— One for clean water, one for dirty — essential for rinse discipline
- Scissors— Trimming plate and paper to size
Kitchen Litho Kit Tutorial
Watch on YouTubeThe six-step process.
From blank plate to finished print.
Six stages reveal the complete logic of lithographic printing in a form that is understandable and achievable for beginners.
Prepare the plate
Draw the image
Dusting
Etching
Cleaning
Inking and printing
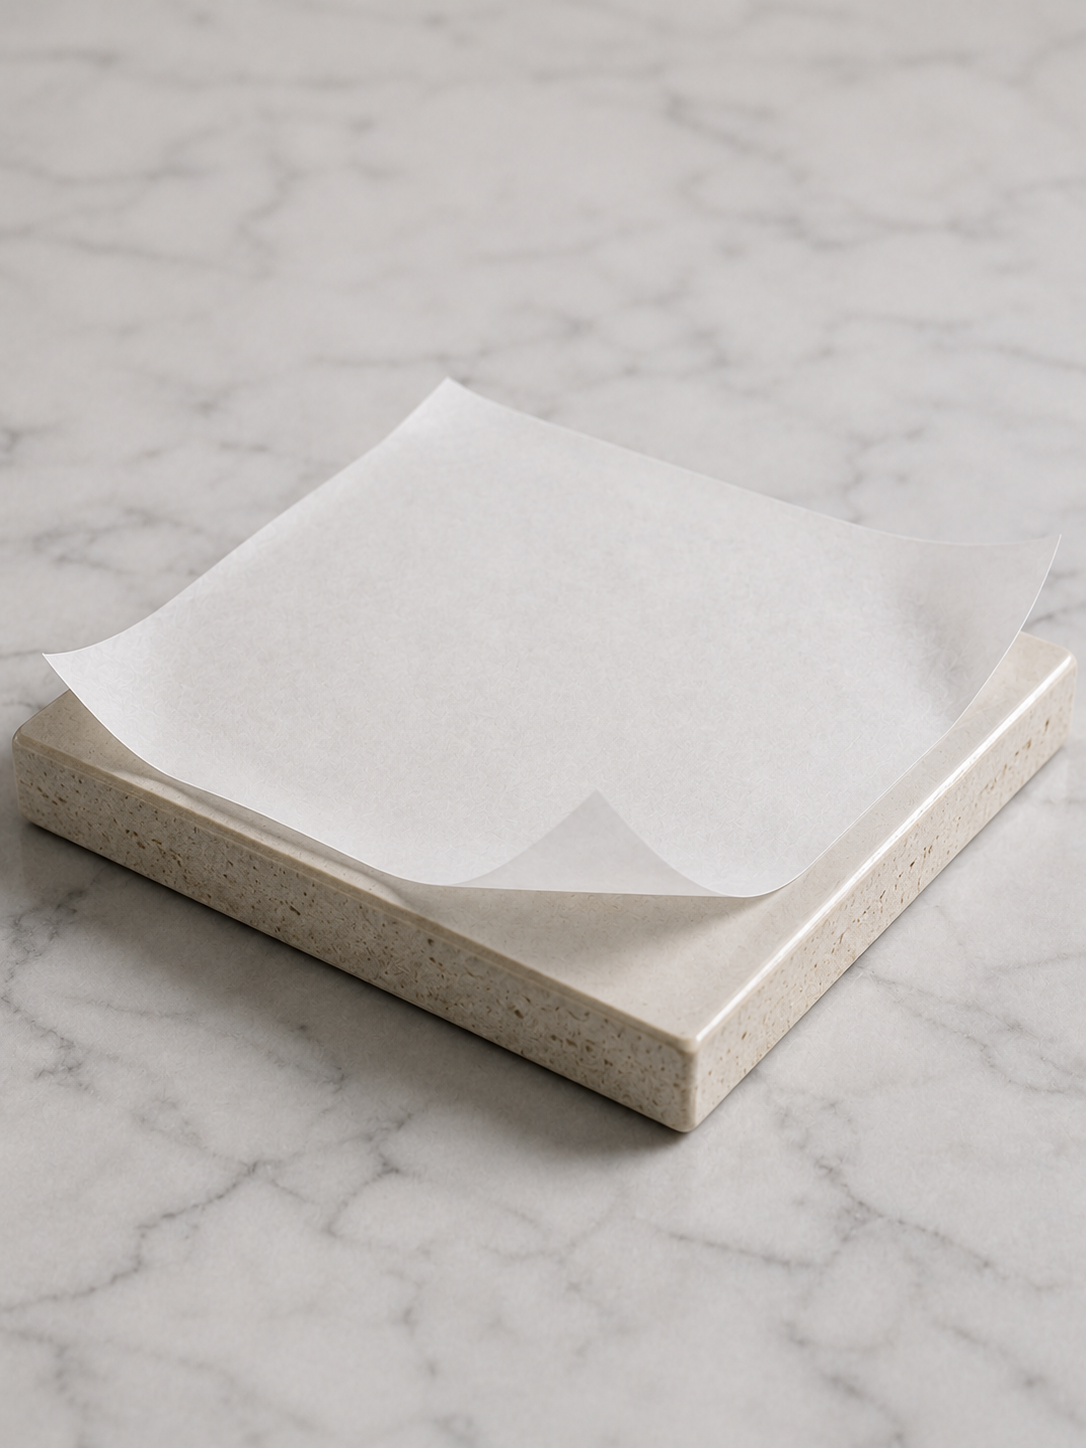
Prepare.
Secure a sheet of aluminum foil to a flat backing board. This foil surface acts as your lithographic plate and provides the foundation for everything that follows — clean, flat, and ready to receive the image.
01
Prepare the plate
Prepare.
Prepare the plate
Secure a sheet of aluminum foil to a flat backing board. This foil surface acts as your lithographic plate and provides the foundation for everything that follows — clean, flat, and ready to receive the image.
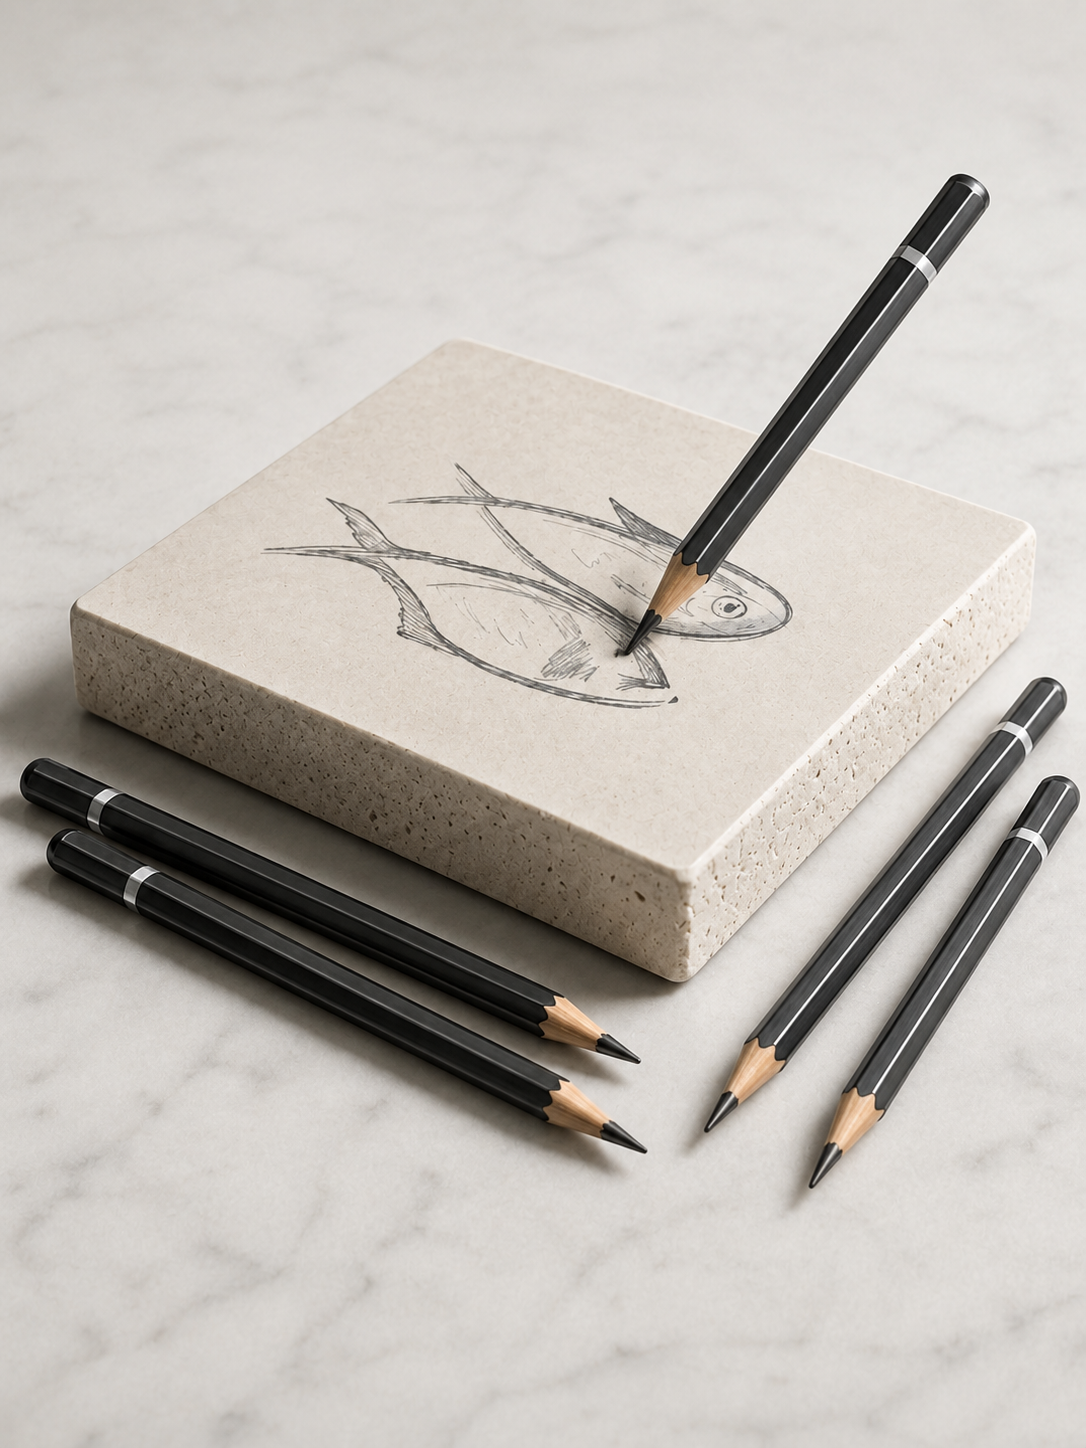
Draw.
Draw the image
Using permanent markers, create your image directly on the foil surface. The drawing establishes the grease-based image areas — wherever the marker touches, ink will later follow. This is the same principle behind every lithographic print ever made.
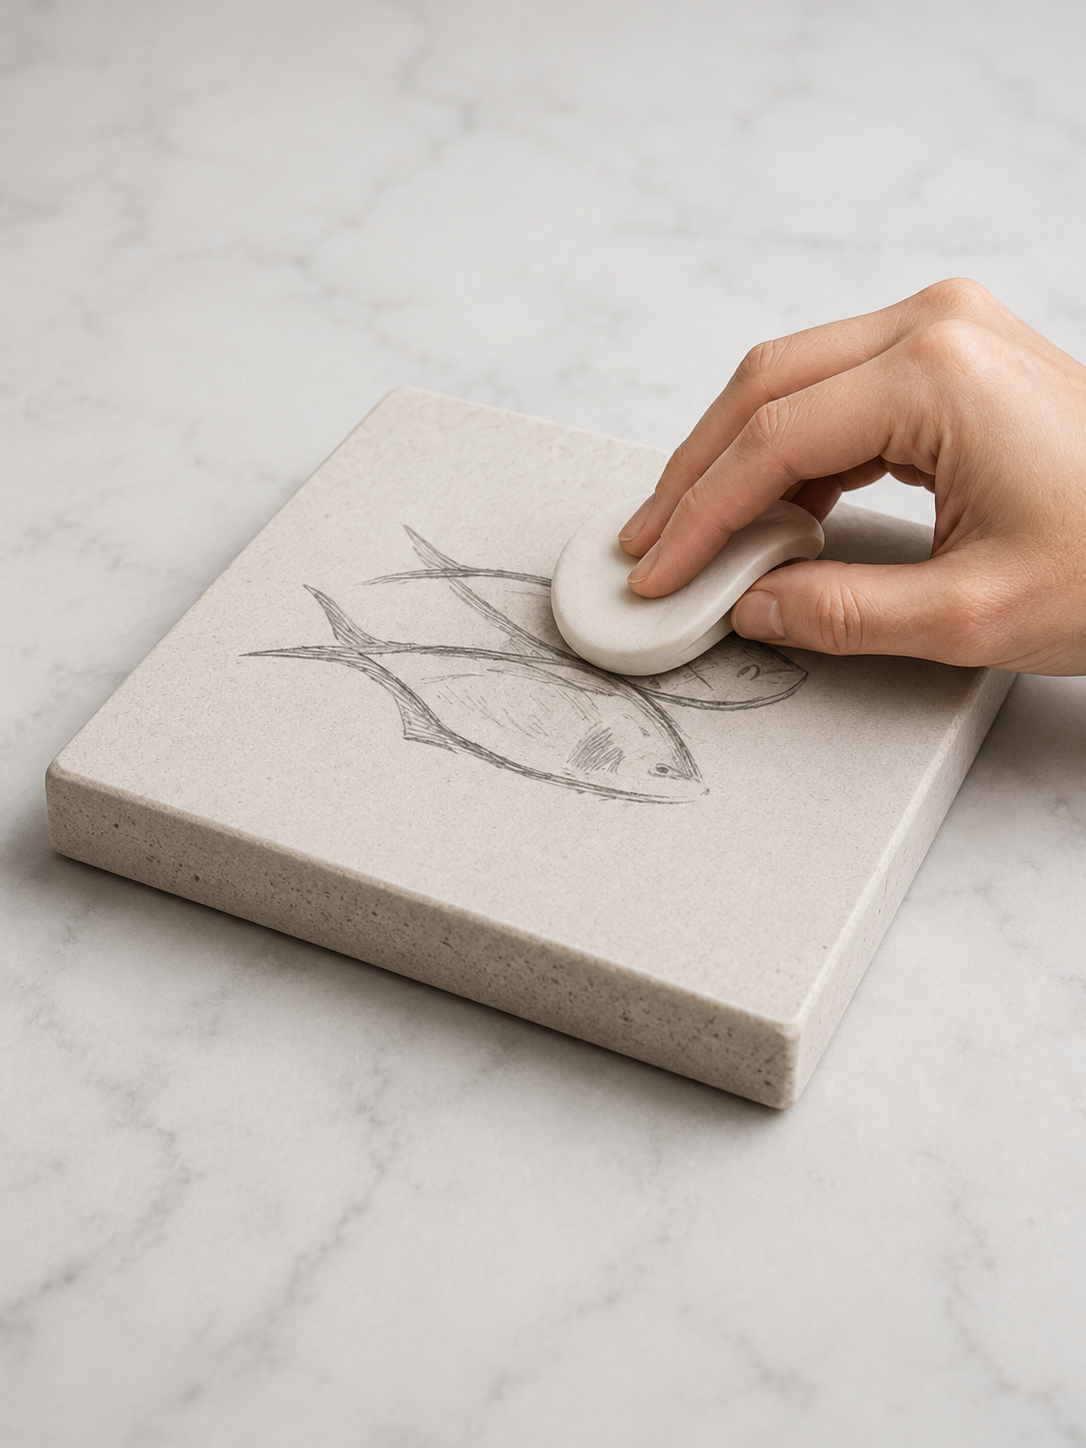
Dust.
Dusting
A light dusting stage prepares the image and stabilises the drawn surface before chemical processing begins. This introduces you to the idea that lithography depends on creating and preserving a sharp distinction between image areas and non-image areas.
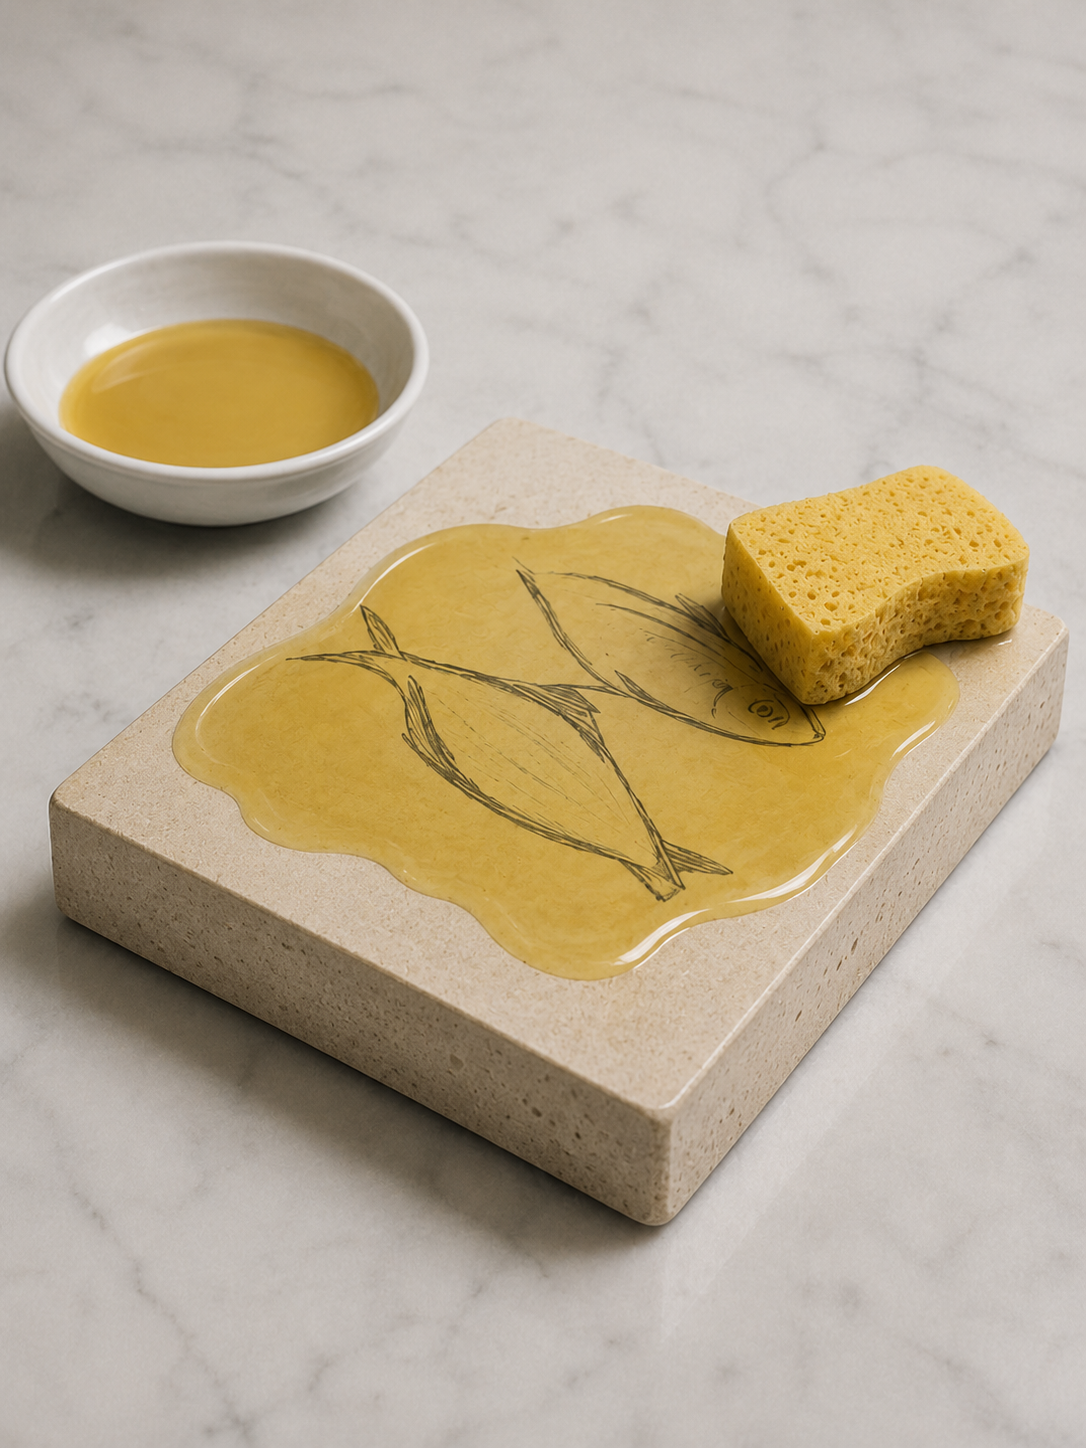
Etch.
Etching
The plate is processed with the Coca-Cola solution to create a chemical distinction between the drawn image and the surrounding surface. This is one of lithography's most important principles — the etch makes the grease-and-water separation permanent and durable.
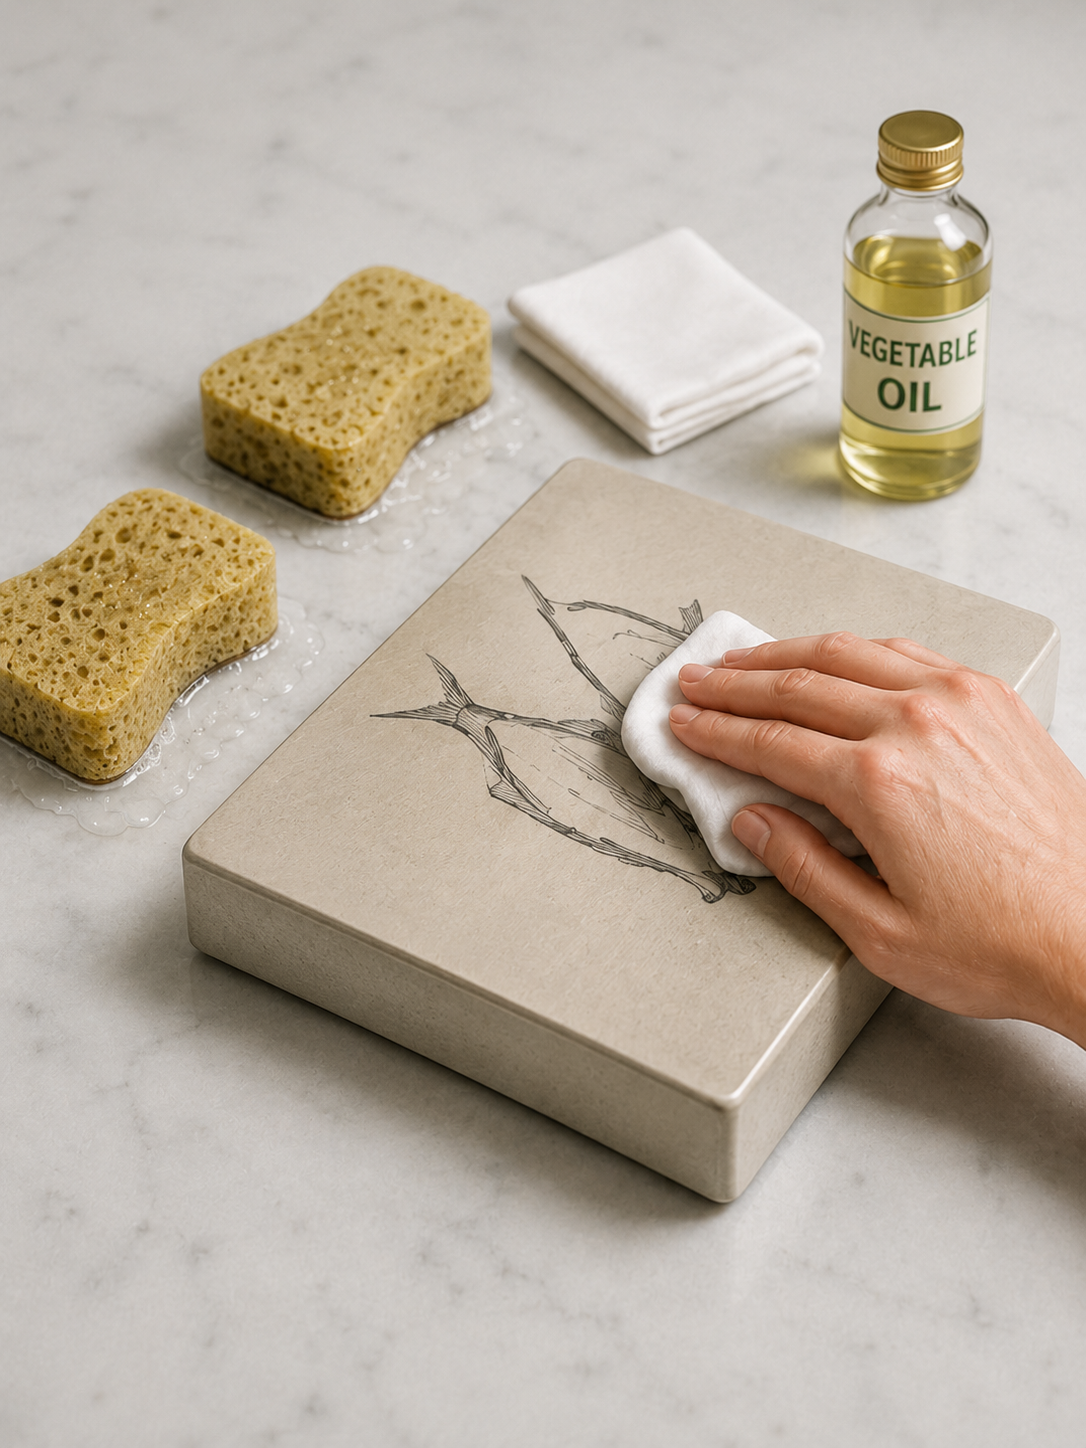
Clean.
Cleaning
The plate is gently cleaned and prepared for printing. This removes temporary drawing materials while preserving the chemical information embedded in the surface — the invisible record of where grease was and where water is welcome.
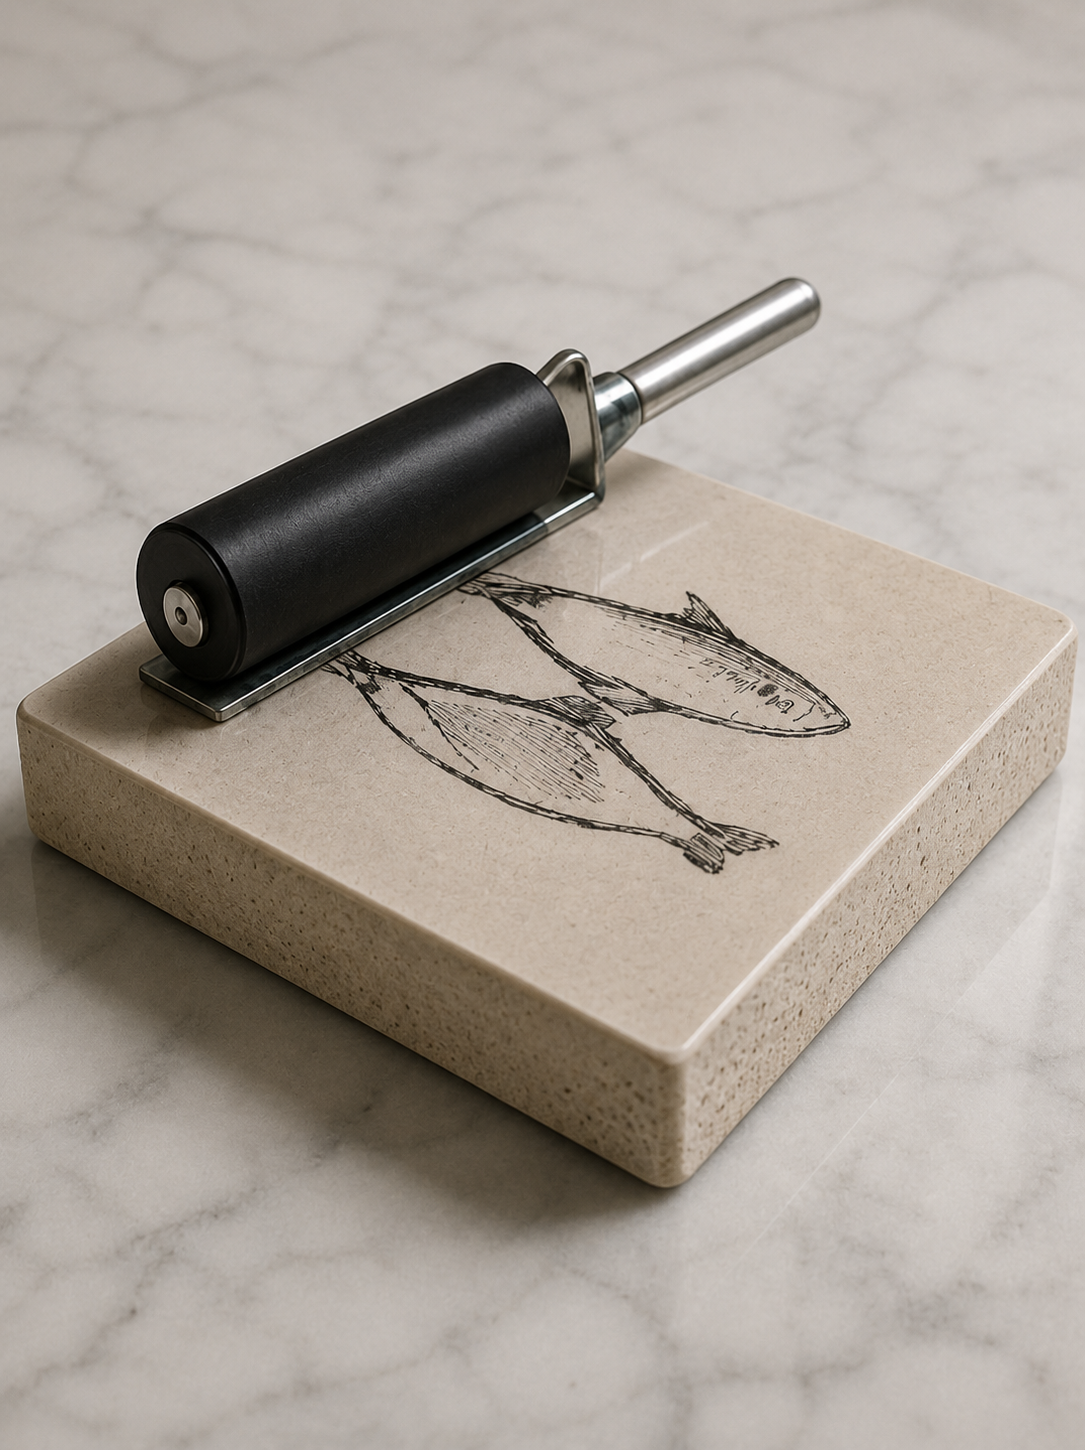
Print.
Inking and printing
The plate is dampened, then inked. As the roller passes over the surface, ink adheres to image areas and is repelled from wet non-image areas — the defining phenomenon of lithography, visible in front of you. Press paper against the plate and lift to reveal your print.
Free downloads.
Take the process with you.
Two free resources to support your practice — whether you are printing alone at home or running a classroom workshop.
Kitchen Litho Kit — How To Guide
A step-by-step reference for the full six-stage process. Designed for individual use at home and for distribution in classrooms and workshops.
Download PDFLithographic Sticker Pack
A collection of print-ready lithographic stickers. Print at home or take to a copy shop — designed to pair with the kit.
Download PDFClassroom and workshop.
Want to bring the kit into a learning environment?
Send a direct inquiry if you want to discuss using the Kitchen Litho Kit in a classroom, school workshop, or educational programme. The message goes to the Litho Hub team.
hello@lithohub.com